
1. Getting Hands-On With The Transform Pad
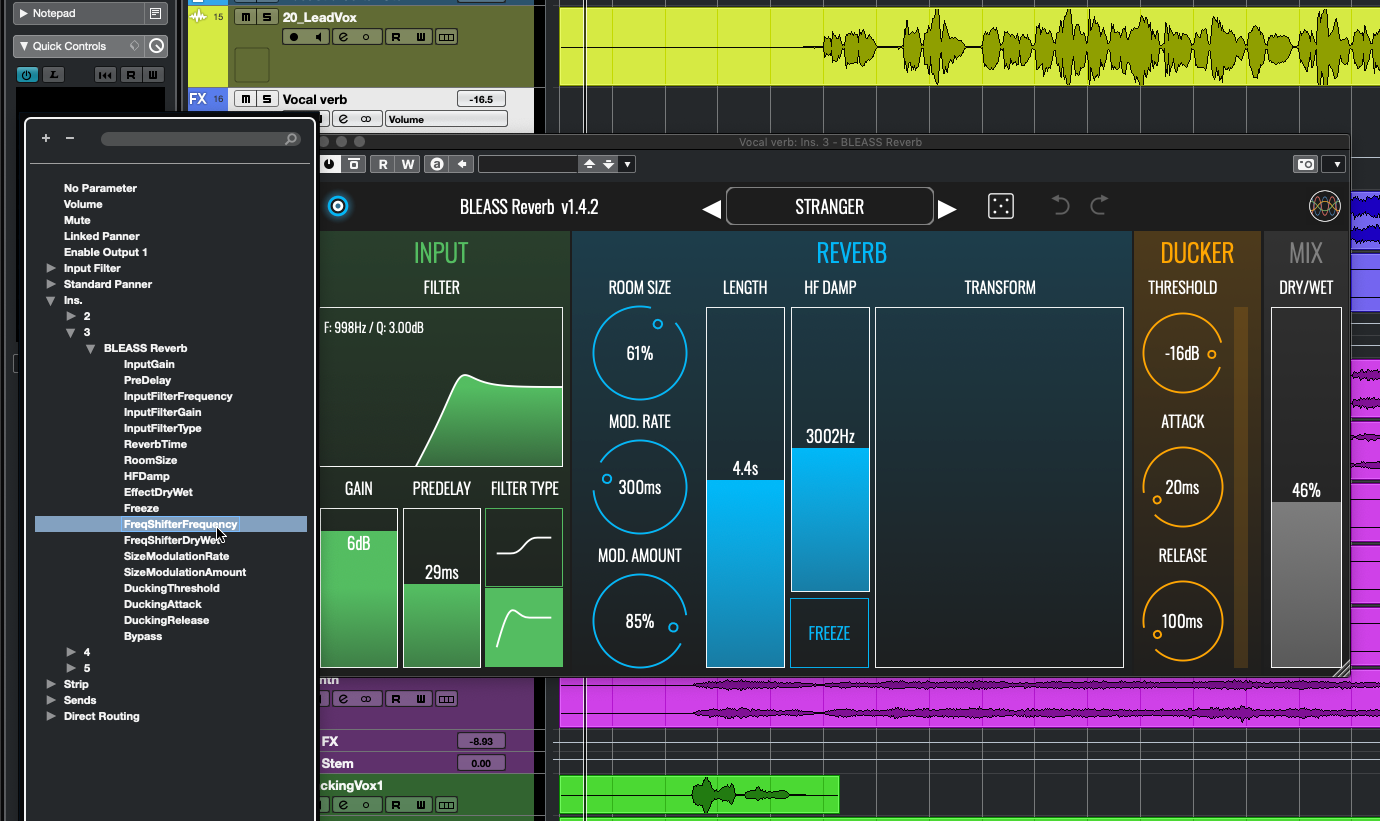
Use FreqShifterFrequency and FreqShifterDryWet to automate the Transform pad
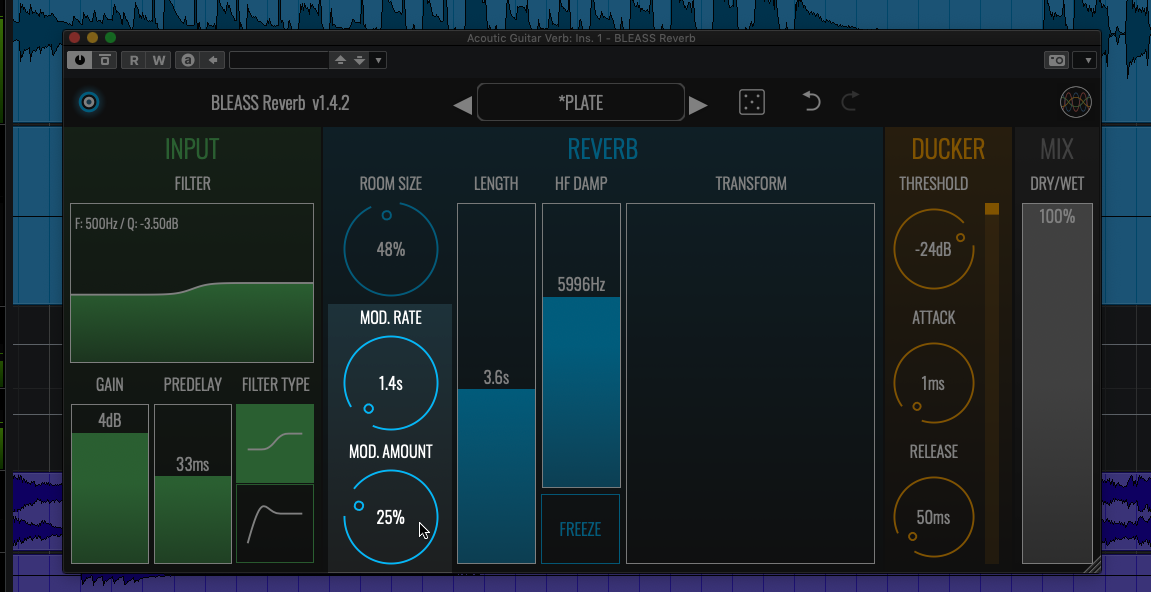
The X-Y Transform pad, one of BLEASS Reverb’s most creative tools, controls a frequency processor that’s applied to the reverb reflections. Dragging on the pad creates interesting textures within the reverb, especially when used in conjunction with the Freeze button, but neither pad nor button create automation data that your DAW can record.
The solution is to assign external hardware controllers directly to the frequency processor’s parameters. The method for doing this varies from DAW to DAW and controller to controller, but the all-important parameters are called FreqShifterFrequency (the X axis) and FreqShifterDryWet (the Y axis). Whilst setting this up be sure to also assign a switch/button controller to the Freeze parameter to give you fully recordable hands-on control over this most creative of effects.
2. Creating Awesome Risers With The Transform Pad
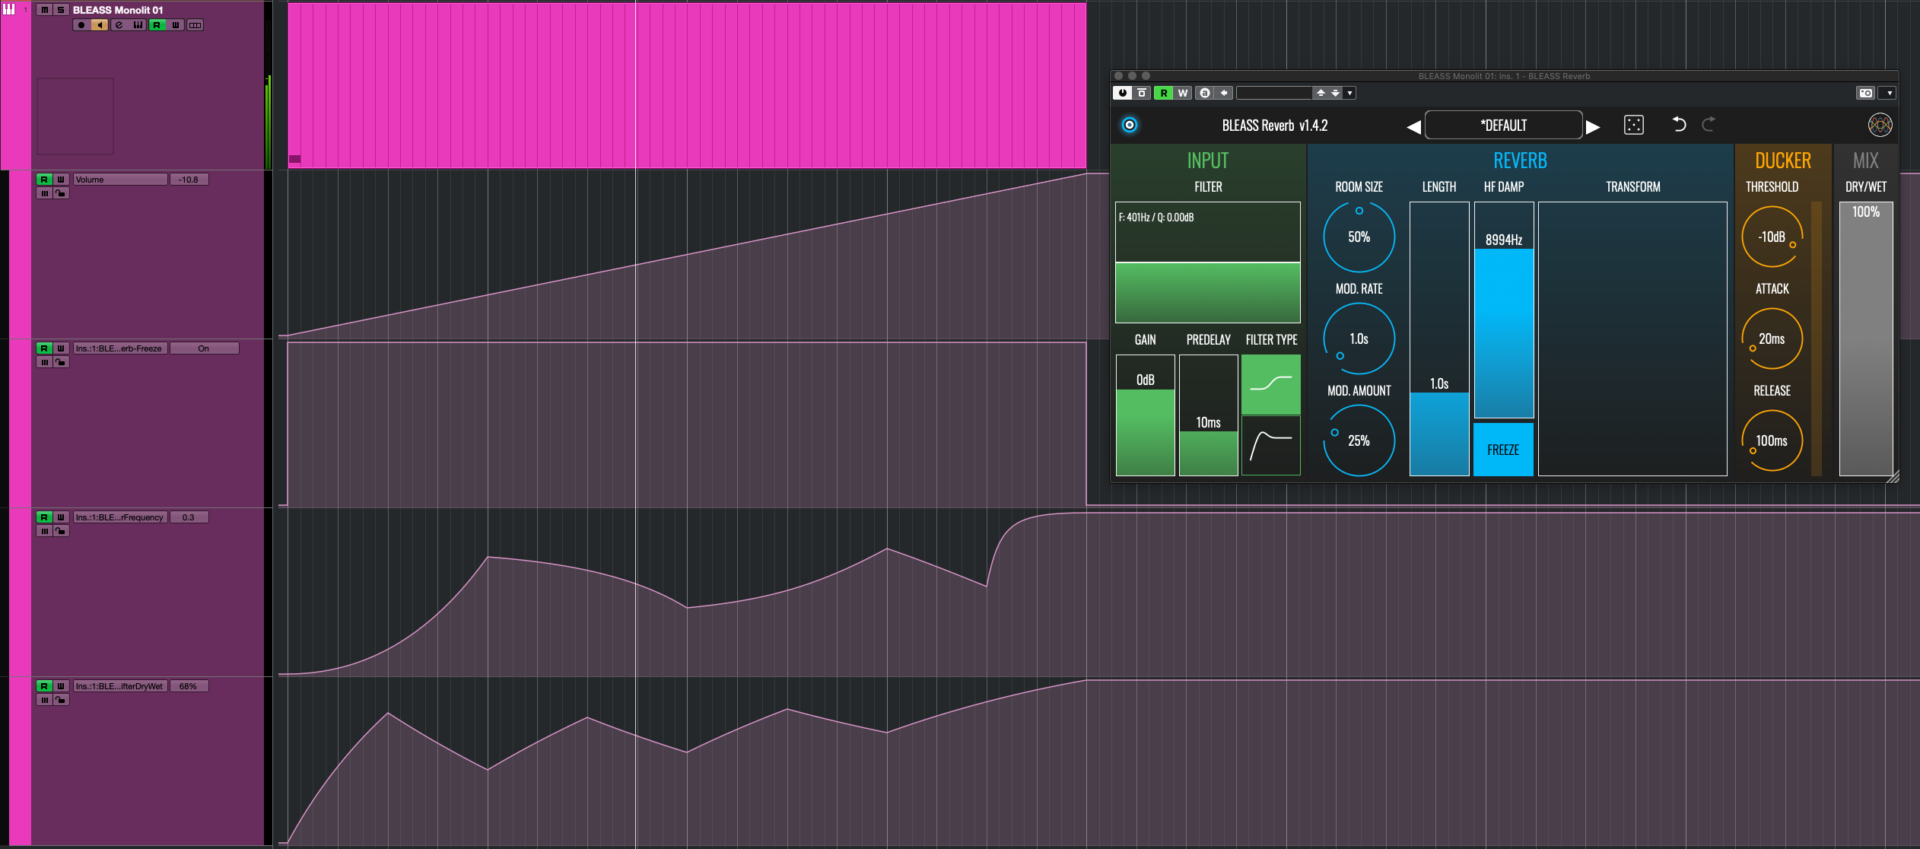
Automate the Transform pad to create awesome risers
Making great sounding risers can be tricky, but not for BLEASS Reverb and its Transform pad. You will need a sound source to start the reverberations – noise is good for this, so let’s use a synth. Insert BLEASS Reverb on the synth’s track/channel, set its Dry/Wet balance to 100%, and create automation lanes for the FreqShifterFrequency, FreqShifterDryWet, and Freeze parameters.
Place a short note at the point you want the riser to start, and enable Freeze from that start point to the the point where the riser will finish. On the other two lanes, draw rising curves and shapes that peak at the riser’s end point; you may also want to add a volume fade-up.
Be sure to experiment with different “seed” sounds, curve shapes and reverb settings. And don’t forget you can manually record your own risers (see Tip 1 above), or make use of tempo-synced modulators if your DAW provides them.
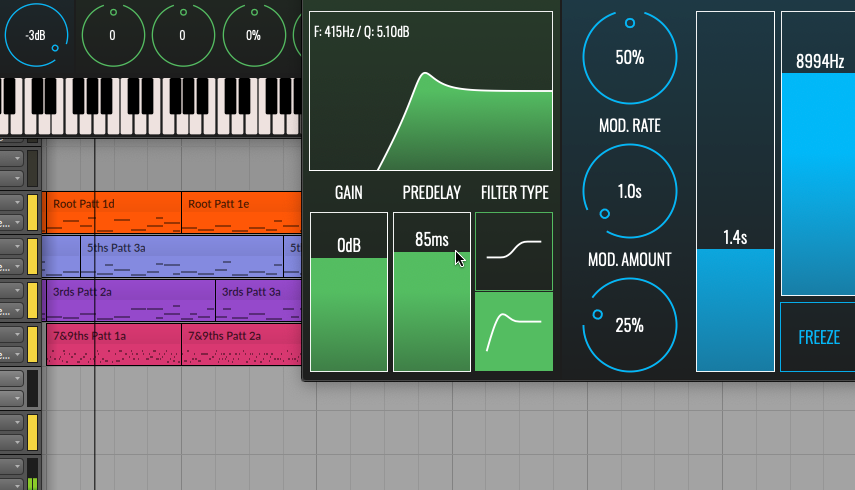
3. Using The Input Filter To Create Shimmering Synth Pads
Use modulators (if your DAW has them) or automation to create movement of the input filter’s cutoff
BLEASS Reverb’s input filter can create movement and shimmer in a sound if it is changed constantly, especially when operating in high-pass mode. This effect can work particularly well on synth pads, but also sounds good on clean guitars and airy vocals.
The best approach is to use your DAW’s assignable modulators if it has them (Bitwig Studio, Reaper, etc.). Alternatively you can draw, copy and paste patterns in automation lanes, or even create the movements manually via an external hardware controller. Whichever method you use, it is the parameter named InputFilterFrequency that is of primary interest, and you may also want to control the filter’s resonance via the InputFilterGain parameter. Note that smaller fluctuations tend to work better than larger ones.
4. Using The Ducker To Maintain Focus And Clarity
The built-in Ducker helps to maintain clarity and audibility even when long reverb lengths are used
A perennial problem with any reverb is that the echoes and reflections can get in the way of the dry source signal, resulting in an overall muddy and unfocussed sound that’s particularly problematic for vocals and other lead parts. A common method for dealing with this is to use a compression technique called “ducking” to control the reverb’s volume – this trick is baked-in to BLEASS Reverb.
With your track playing (or performer performing), adjust the Ducker’s Threshold to control how much volume reduction is applied to the reverb. When you get this to a point that you like, adjust the Attack and Release times until the ducking effect sounds natural and transparent.
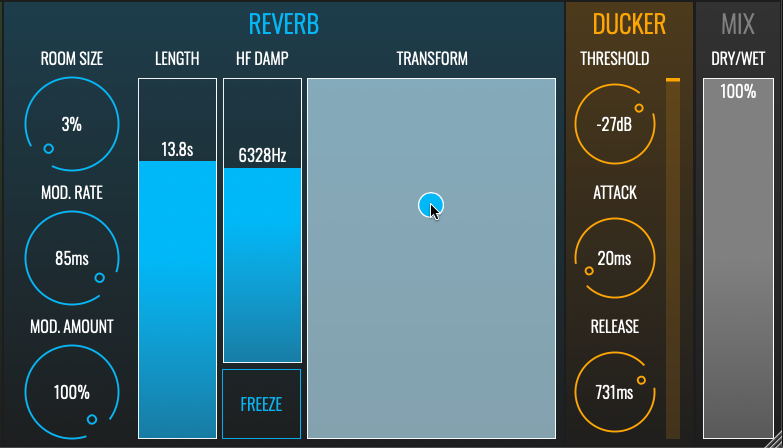
5. Wide And Luscious Modulated Reverbs
Pitch modulation adds width and movement to the reverb
We often reach for a chorus processor when we want to make an instrument or voice sound thicker and wider. The effect is achieved by overlaying the original signal with a slightly detuned version of it and then modulating the amount of detuning to create movement. Applying the same trick to the echoes and reflections produced by a reverb processor can change a narrow and lifeless ‘verb into a rich, wide, sparkling wash of musical ambience, and this trick is built in to BLEASS Reverb.
The relevant controls here are Mod. Rate and Mod. Amount. The widest, most luxuriant results are to found by restricting the Mod. Rate to lower values and combine this with a medium-to-large Mod. Amount, but there are a lot of interesting and unusual effects to be found by combining different settings so be sure to experiment.
6. Wild Resonant FX
Combine small rooms with long reverb lengths to create wild resonant effects – use the Transform pad to make them even wilder
Typically, in the real world, the reverberations produced in a small room will fall off rapidly as each “bounce” off a surface absorbs a portion of the sound; similarly, larger rooms will have longer overall reverb times because of the larger distances involved.
We can use this knowledge to create and control intense reverberant resonances using BLEASS Reverb. A low Room Size and high Length setting will create the basic effect, with the Input Filter and HF Damp settings providing a means to colour and shape the resonance’s tone. Dialling in some Mod. Rate and Mod. Amount creates chorus- and flanger-like effects within the resonance, but for a truly wild ride, set the Mix to 100% and start dragging within the Transform pad… you won’t regret it!
7. Simulating Distance
Predelay can be used to position sounds front-to-back in the stereo field
We all know about using panning to position a sound left-to-right in the stereo field, but BLEASS Reverb allows us to position a sound closer or more distant from the listener too. This is done via the Predelay setting, which introduces a delay of up-to 200ms between the source sound and the resulting wash of reverb reflections.
With no Predelay, the listener hears the direct and reflected sounds simultaneously, which gives an impression of depth and distance. As the Predelay is increased the listener will perceive the sound source to be moving closer toward them. The effect can be enhanced by adjusting the Dry/Wet balance too: a “wetter” mix will create a greater sense of distance than a “drier” mix.
8. Creating A Consistent Acoustic Space
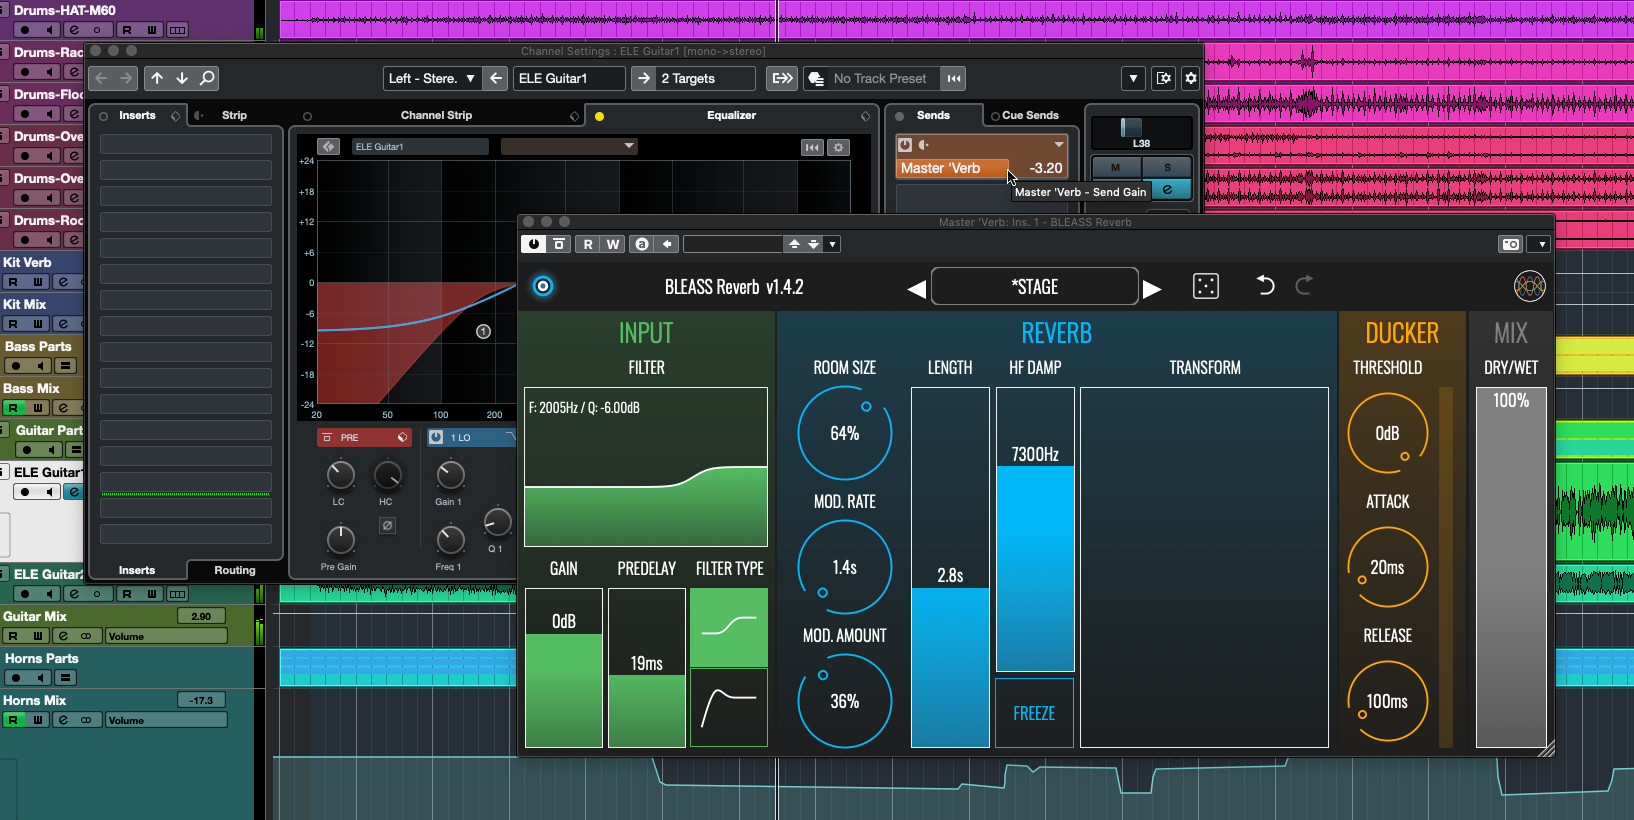
Configuring BLEASS Reverb as a send effect allows multiple tracks to share the same reverb sound
When a band or group of musicians are playing together they are usually doing so within the same room or venue, and so all of the instruments are subjected to the same reverberations. This creates consistency in the sound of the performance, and we can recreate this in the studio using just a single instance of BLEASS Reverb.
Create an Effect/FX/Auxiliary track in your DAW (the exact track type name depends on your DAW) and insert an instance of BLEASS Reverb on this new track. Set the plugin’s Mix to 100% wet. Create a Send routed to the new track from any track that you wish to add reverb to – the send level will determine how prominent the reverb will be for each track/part. The overall prominence of the reverb can be controlled using the Effect track’s volume fader.
9. Vintage ‘Verb
Placing a filter prior to BLEASS Reverb aids in creating vintage reverb tones
A defining feature of classic digital reverbs, such as the Lexicon 224 and EMT 250, is that they applied a low-pass filter to the input signal in order to keep its frequency spectrum within the range that could be handled by their analogue-to-digital converters. We can mimic this in BLEASS Reverb to create a more vintage-like sound.
You will need to set up BLEASS Reverb as a send effect, as described in Tip 8, above, and position a filter, such as BLEASS Filter, before it in the processing chain. Set the filter’s cutoff frequency to between 6kHz and 8kHz with a 100% wet mix. In BLEASS Reverb, set HF Damp to anything below 8000Hz, and turn the Mod. Amount to zero. A smaller Room Size also lends itself to a more vintage sound.
10. Simulating Hard Or Soft Surfaces
The HF Damp setting allows us to simulate different acoustically reflective surfaces
In a real world acoustic space, the tone of the reverb – whether it is bright or dark – depends on the materials that the walls are made of. All materials will absorb and deaden the reverberating sound and, typically, higher frequencies are absorbed more readily than lower frequencies, no matter the material.
BLEASS Reverb allows us to simulate different wall materials using its HF Damp control. High settings simulate harder, more reflective walls that absorb frequencies relatively evenly. The result is a bright, crisp reverb tone. Conversely, lower settings simulate surfaces that absorb more of the high frequencies, as would happen if reflecting from softer surfaces in the real world. The results here could be described as warm, dark, or even wooly.
Download BLEASS Reverb: https://www.bleass.com/reverb/